What is the Best Way to Repair the Belt on a Self-Loading Concrete Mixer Truck?
- aimixglobal2024
- 2025年2月7日
- 讀畢需時 3 分鐘
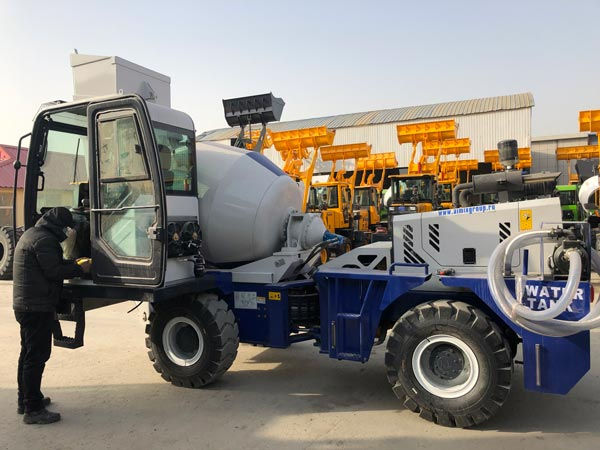
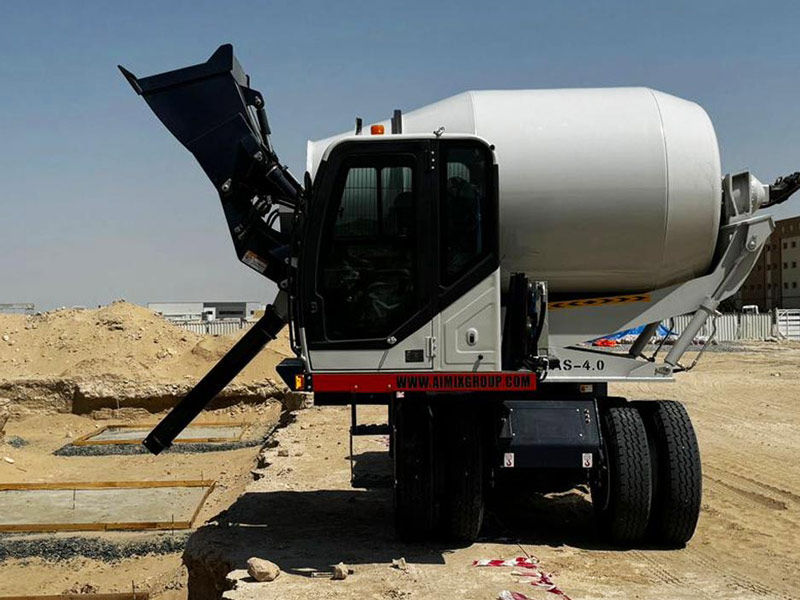
The belt on a self-loading concrete mixer truck plays a crucial role in the machine's operation. A damaged or worn-out belt can disrupt the efficiency and reliability of the mixer. Knowing the best way to repair the belt ensures minimal downtime and extends the lifespan of your equipment. This article provides valuable insights into the best practices for repairing the belt on a self-loading concrete mixer truck.

Understanding the Importance of the Belt
The belt on a self-loading concrete mixer truck transmits power from the engine to various components. It ensures the smooth operation of the mixer drum and other essential parts. A damaged belt can lead to inefficiency and potential breakdowns. Therefore, timely repair and maintenance are crucial.
Common Causes of Belt Damage
Belt damage can result from several factors. Identifying these causes helps in preventing future issues.
Wear and Tear
Regular use can cause the belt to wear out over time. Inspect the belt regularly for signs of wear and replace it when necessary.
Misalignment
Misalignment of the belt can cause uneven wear and eventual damage. Ensure the belt is correctly aligned to prevent this issue.
Improper Tension
Improper tension can cause the belt to slip or stretch. Adjust the tension regularly to maintain proper operation of self loading mixers.
Steps to Repair the Belt
Repairing the belt on a self-loading concrete mixer truck involves several steps. Follow these steps to ensure a successful repair.
Step 1: Safety First
Before starting the repair, ensure the mixer truck is turned off and safely parked. Use appropriate safety gear, such as gloves and safety glasses.
Step 2: Inspect the Belt
Inspect the belt for signs of wear, cracks, or damage. Determine if the belt needs replacement or if minor repairs are sufficient.

Step 3: Remove the Damaged Belt
Loosen the tensioner to remove the damaged belt. Carefully take off the belt from the pulleys. Ensure you remember the belt's routing.
Step 4: Clean the Pulleys
Clean the pulleys to remove any debris or buildup. This ensures a smooth installation of the new belt and prevents future issues.
Step 5: Install the New Belt
Install the new belt following the correct routing. Ensure the belt is properly seated on the pulleys. Adjust the tensioner to achieve the appropriate tension.
Step 6: Test the Belt
Start the mixer truck and observe the belt's operation. Ensure it runs smoothly without slipping or making unusual noises. Adjust the tension if necessary.
Preventive Maintenance Tips
Preventive maintenance helps in avoiding frequent belt repairs and extends the lifespan of your mixer truck's belt.
Regular Inspections
Conduct regular inspections of the belt and pulleys. Look for signs of wear or damage and address any issues promptly.
Proper Tensioning
Ensure the belt is always properly tensioned. Use a tension gauge to achieve the correct tension as recommended by the manufacturer.
Keep Pulleys Clean
Regularly clean the pulleys to prevent debris buildup. Smooth pulley surfaces reduce wear and prolong belt life.
Use High-Quality Belts
Use high-quality belts from reputable manufacturers. High-quality belts offer better durability and performance.
Conclusion
Repairing the belt on a self-loading concrete mixer truck involves careful inspection, proper removal, cleaning of pulleys, installation of a new belt, and testing. Following these steps ensures a successful repair and smooth operation of your mixer truck. Regular preventive maintenance, including inspections, proper tensioning, cleaning pulleys, and using high-quality belts, helps in avoiding frequent repairs and extending the belt's lifespan. Implementing these best practices ensures the optimal performance and reliability of your self-loading concrete mixer truck.


留言